Learn how to successfully link and configure your Paychex integration within the OurPeople platform. This guide walks you through the setup process, including token verification, sync settings, and custom tag mapping to streamline your data management.
Add the Paychex Integration in OurPeople
Tip: OurPeople has built in integrations connect to the following versions of Paychex:
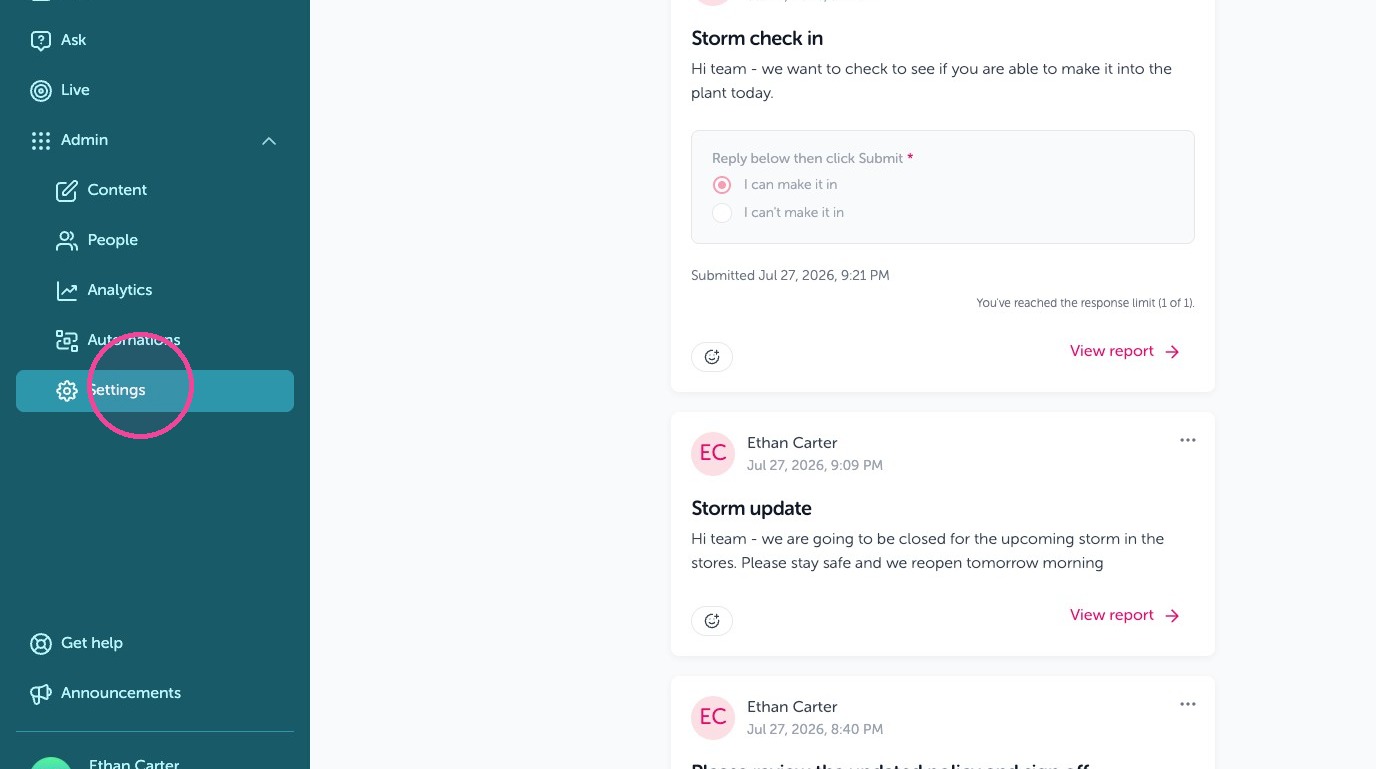
1. As a Global Admin log in then Click "Settings"
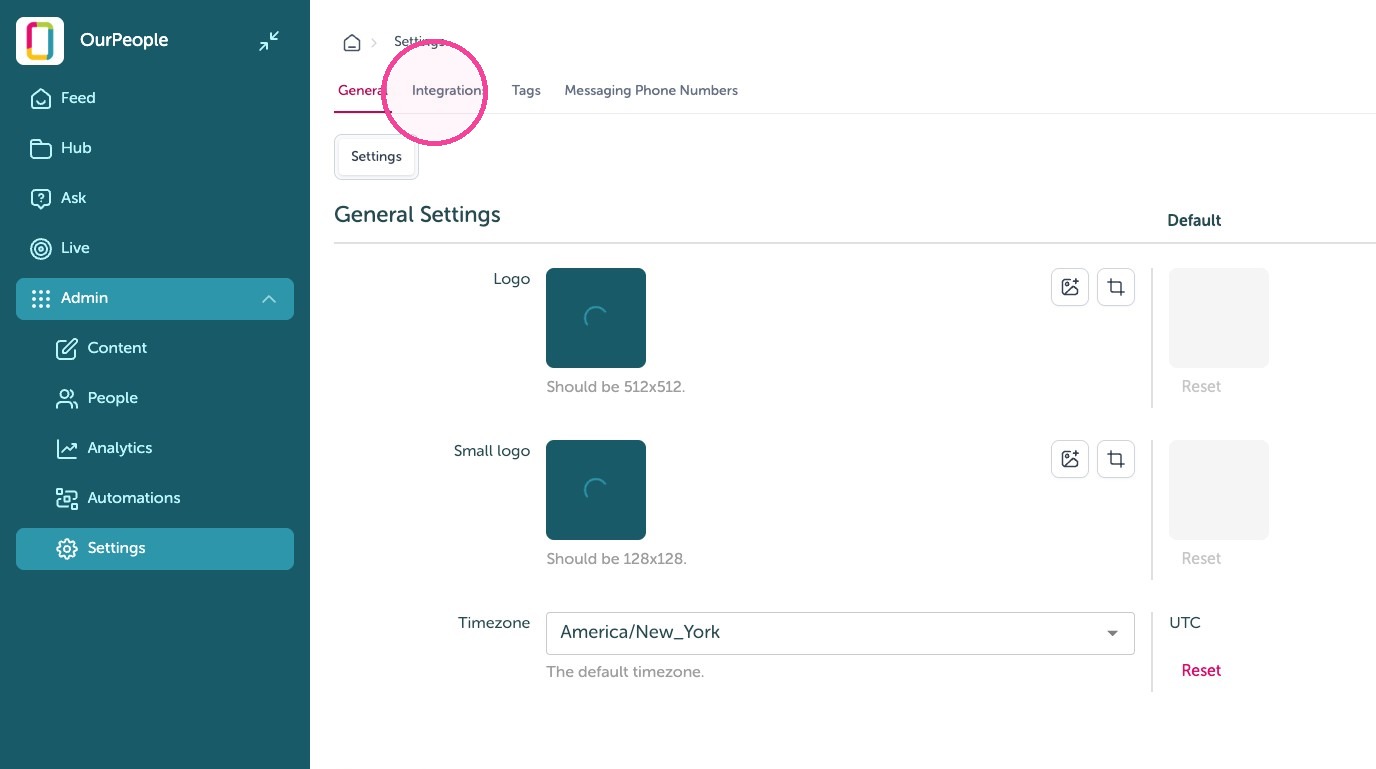
2. Click "Integrations"
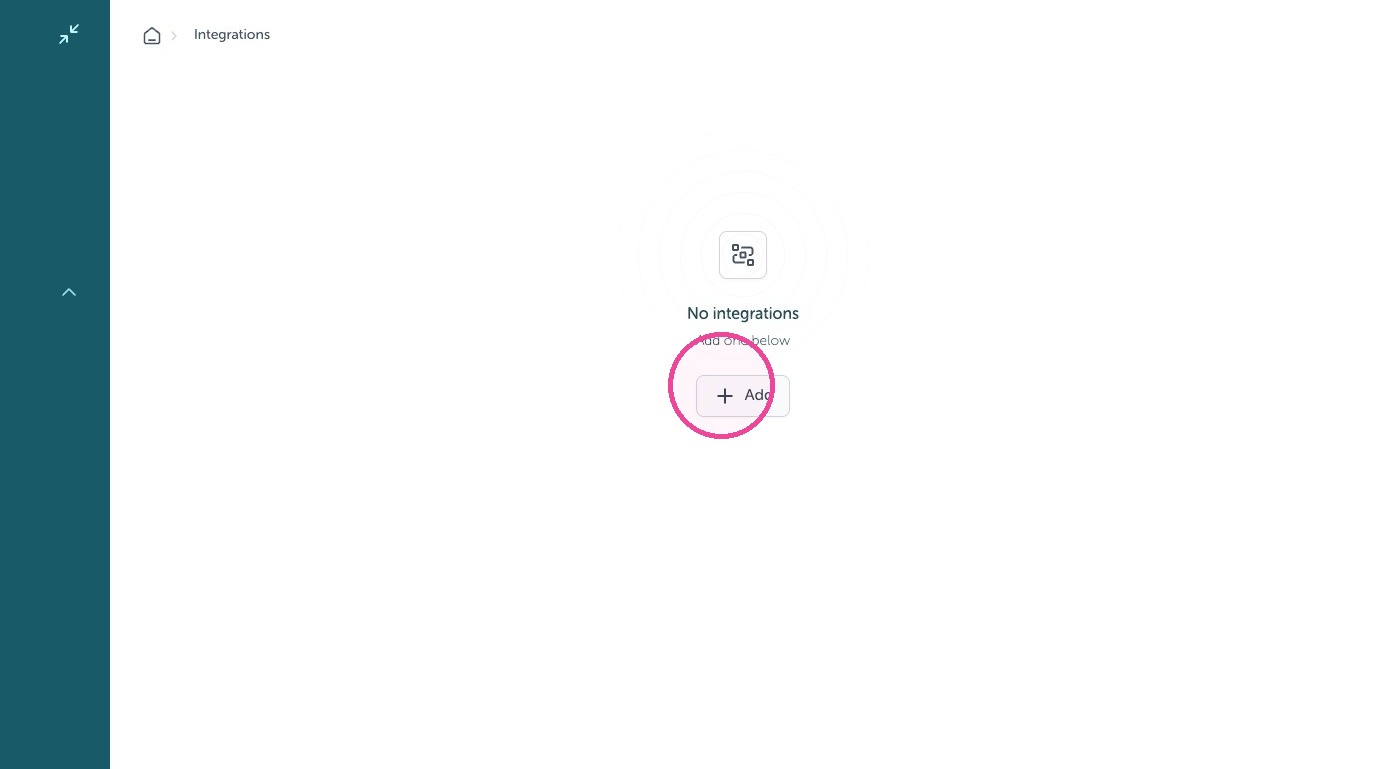
3. Click this icon + Add.
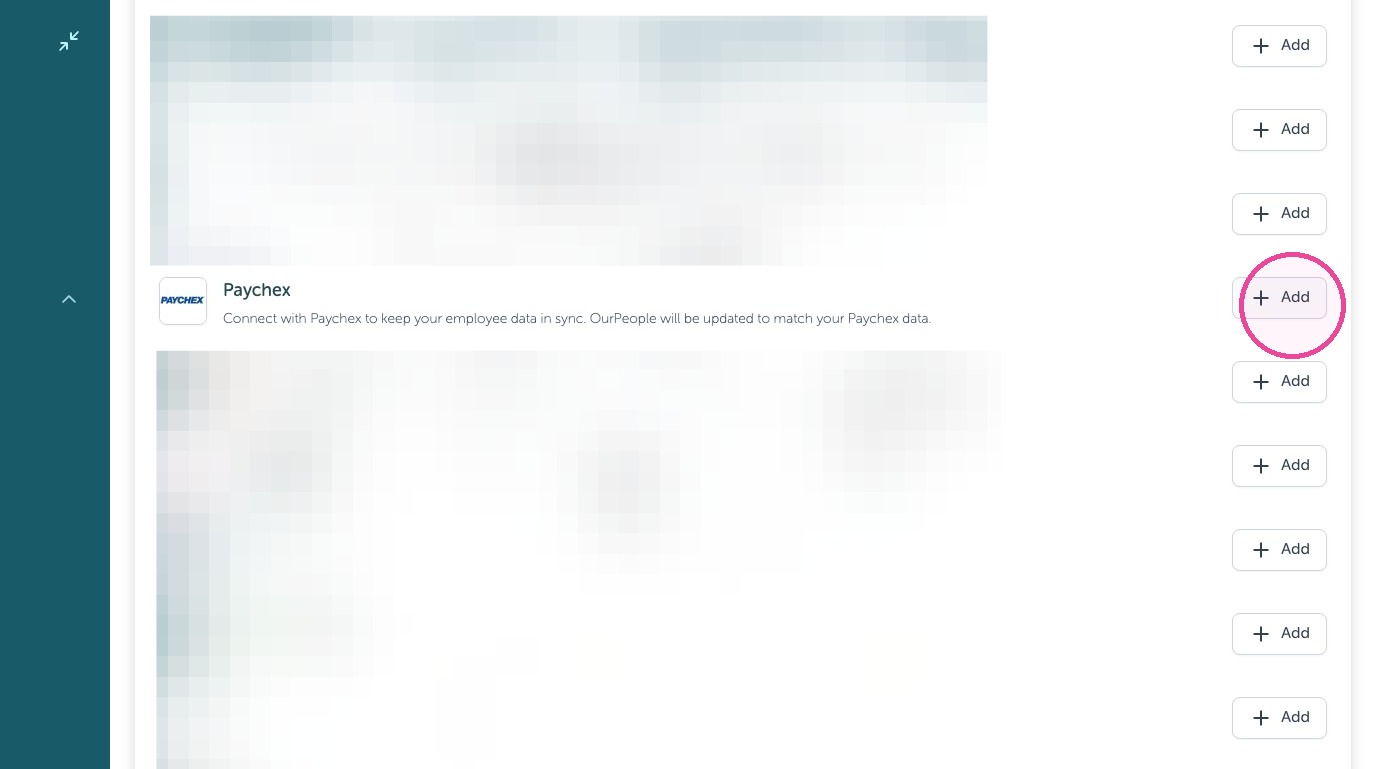
4. Click "Add" next to Paychex
5. Enter your "Paychex ID" into this field.
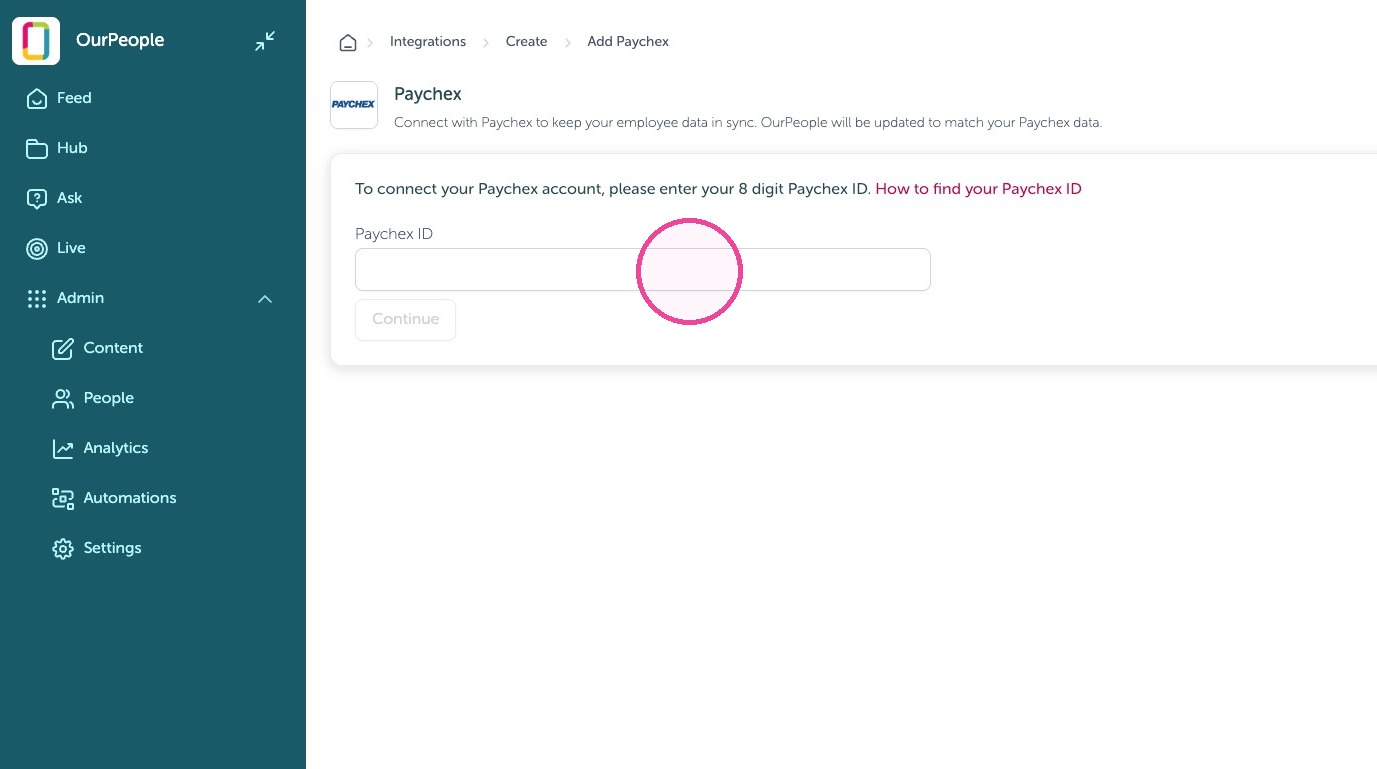
6. Click "Continue"
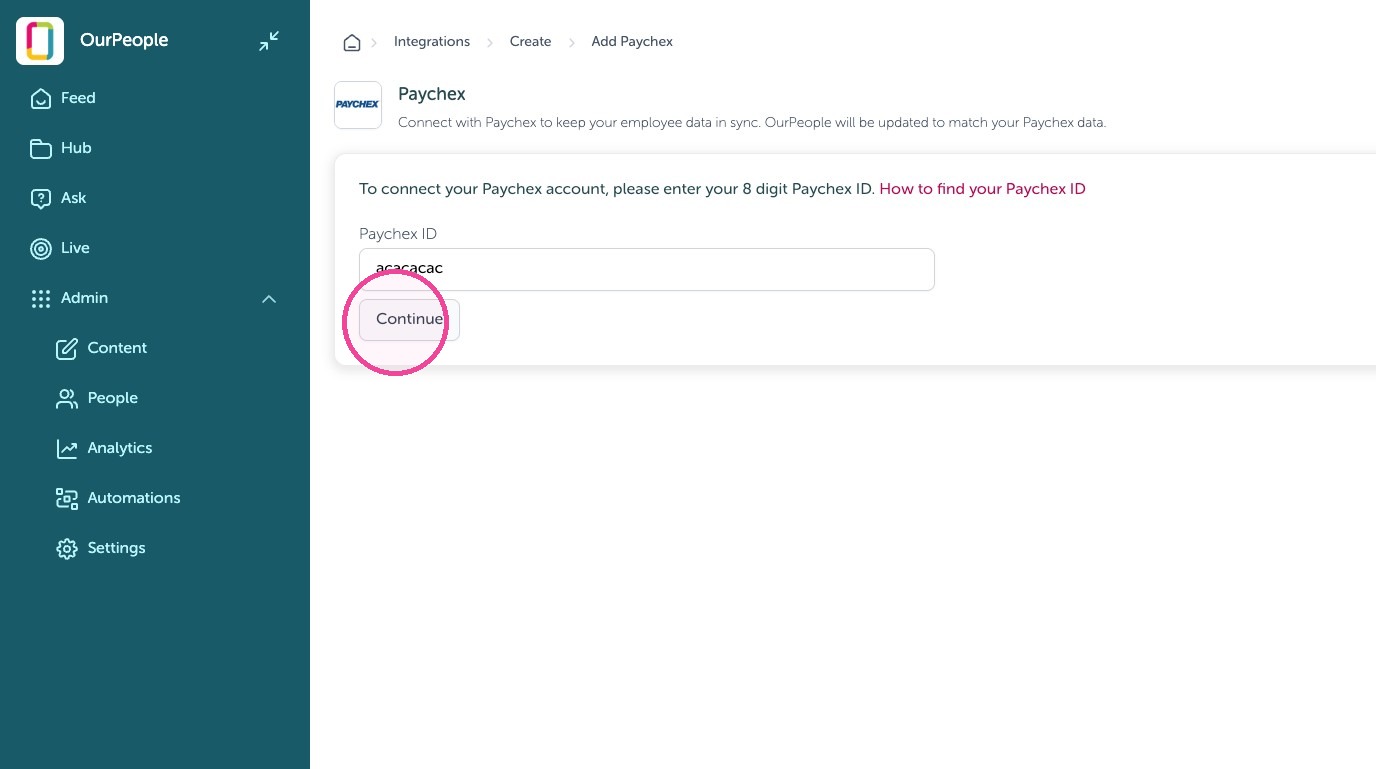
7. Click "Connect"
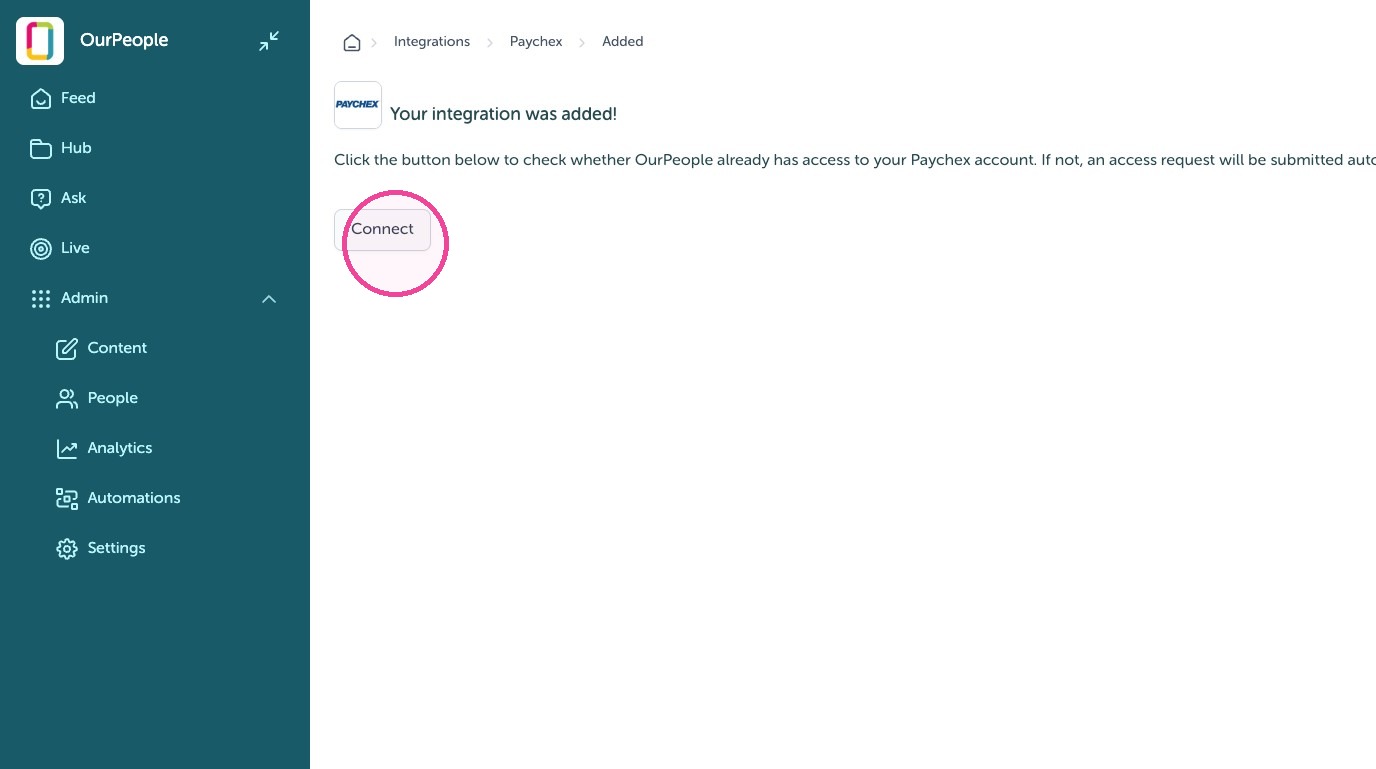
Authorize Paychex
Tip: Log into Paychex, follow the prompts and allow all, then you will be brought back to OurPeople
Start 1st sync in OurPeople
8. Click "Sync"
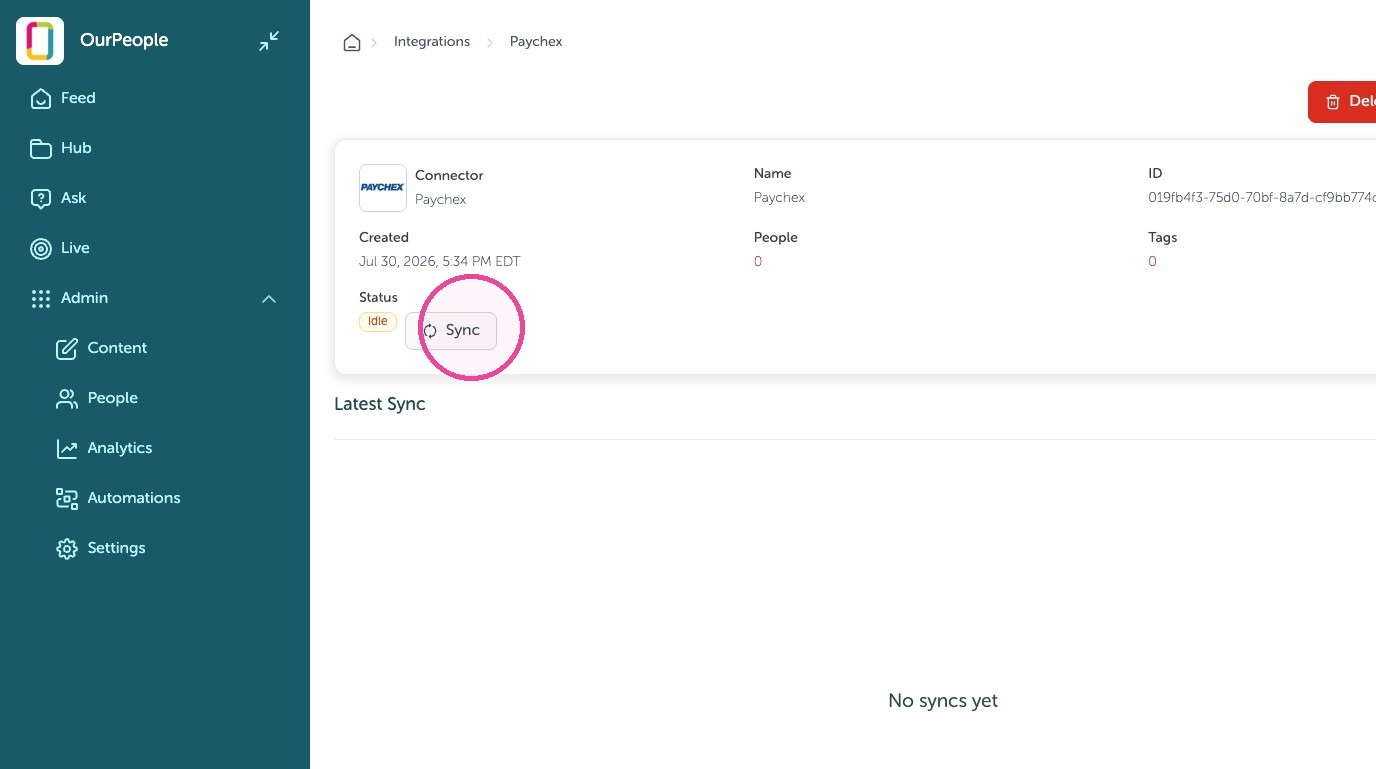
9. Select the "Fresh sync" checkbox.
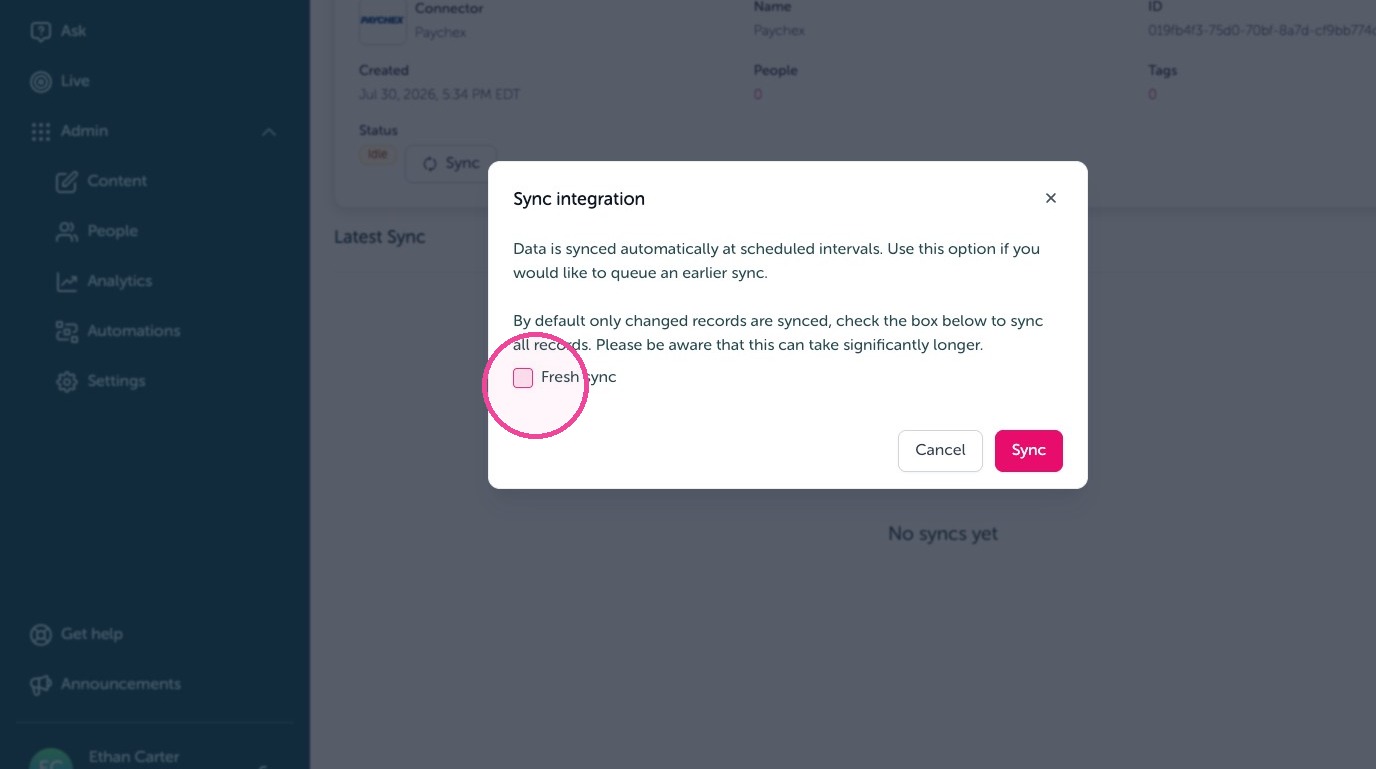
10. Click Sync to start the integration sync.
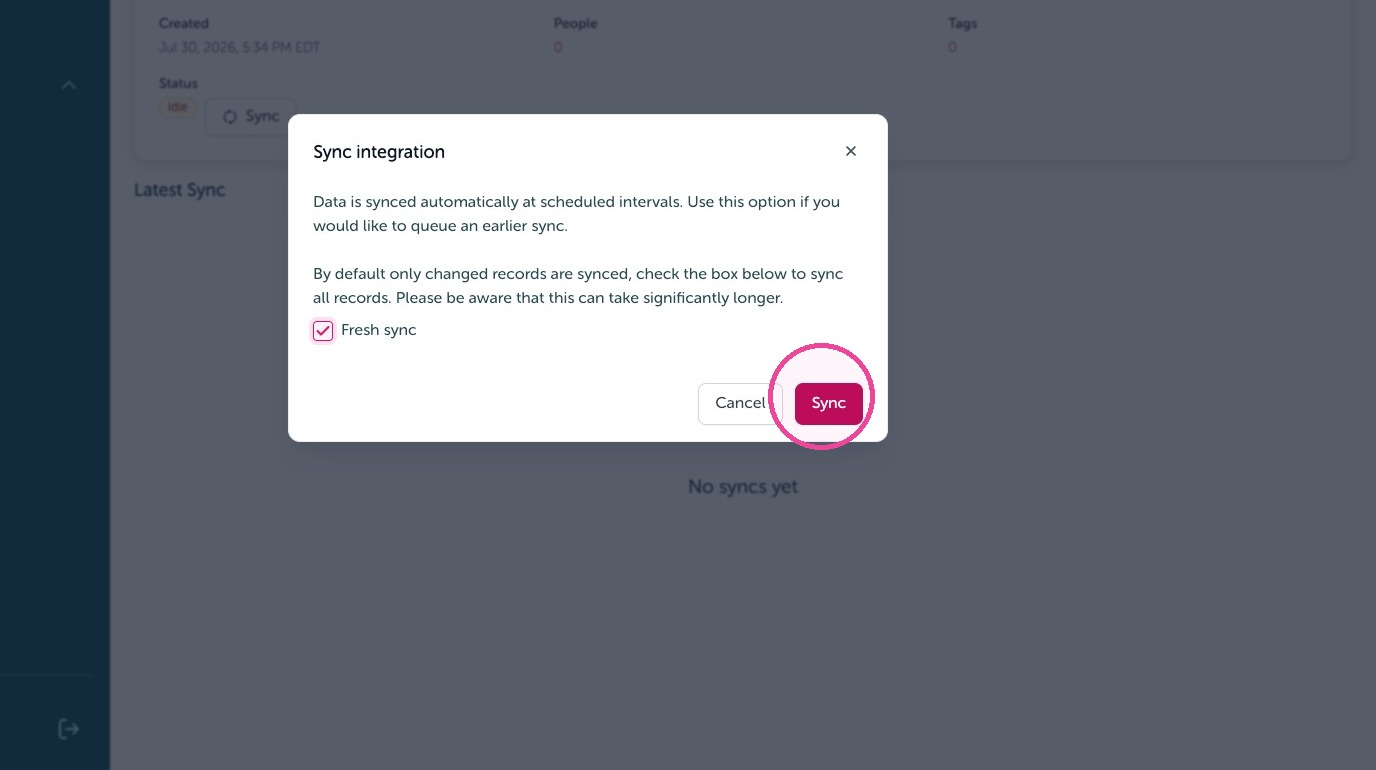
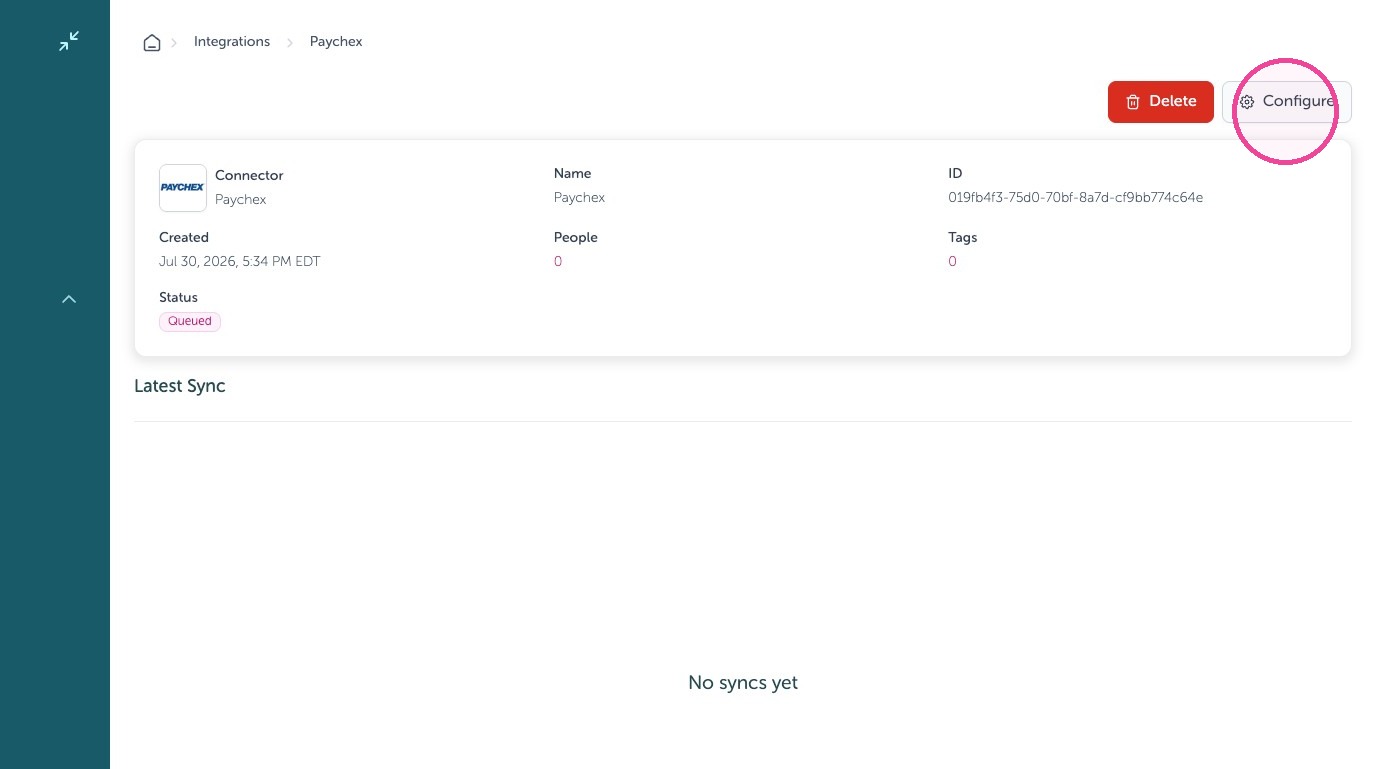
Setting up Paychex fields to OurPeople tags
11. Click "Configure"
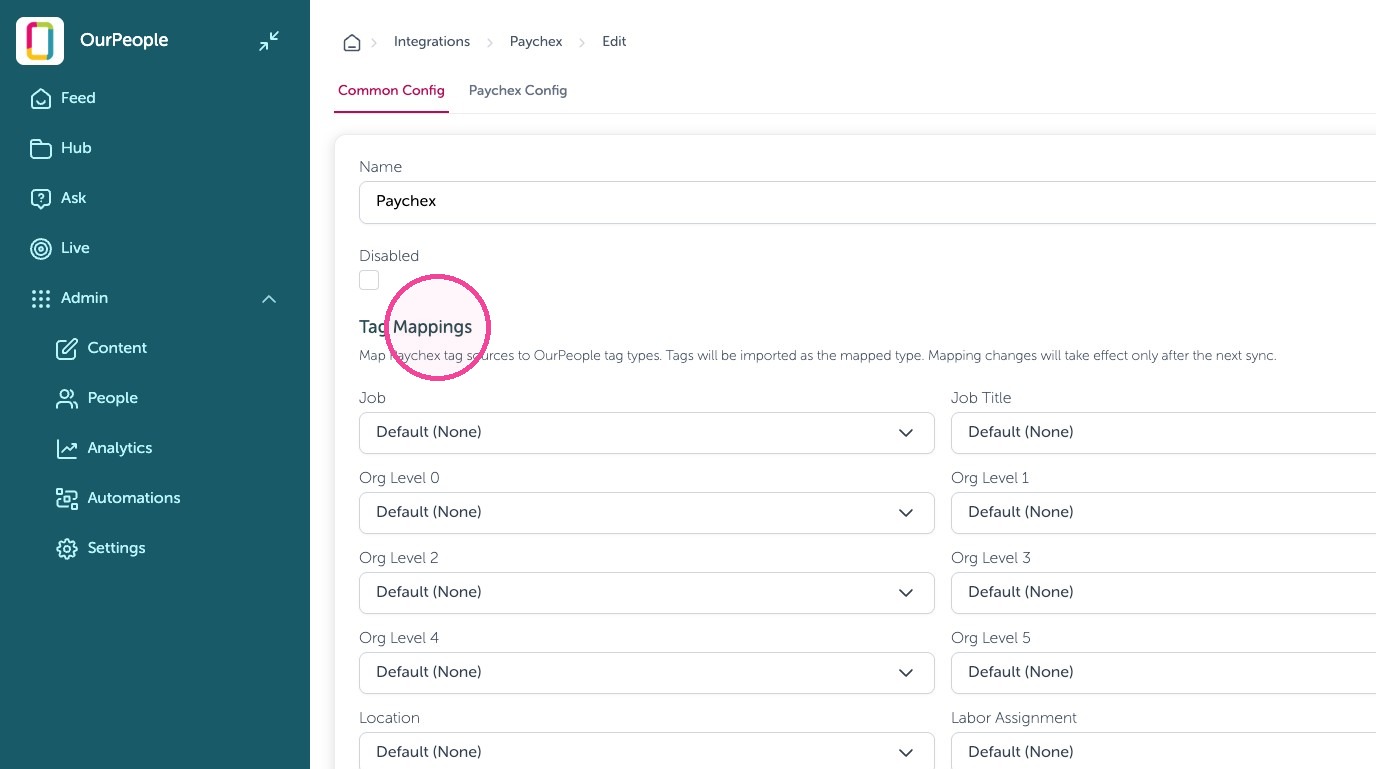
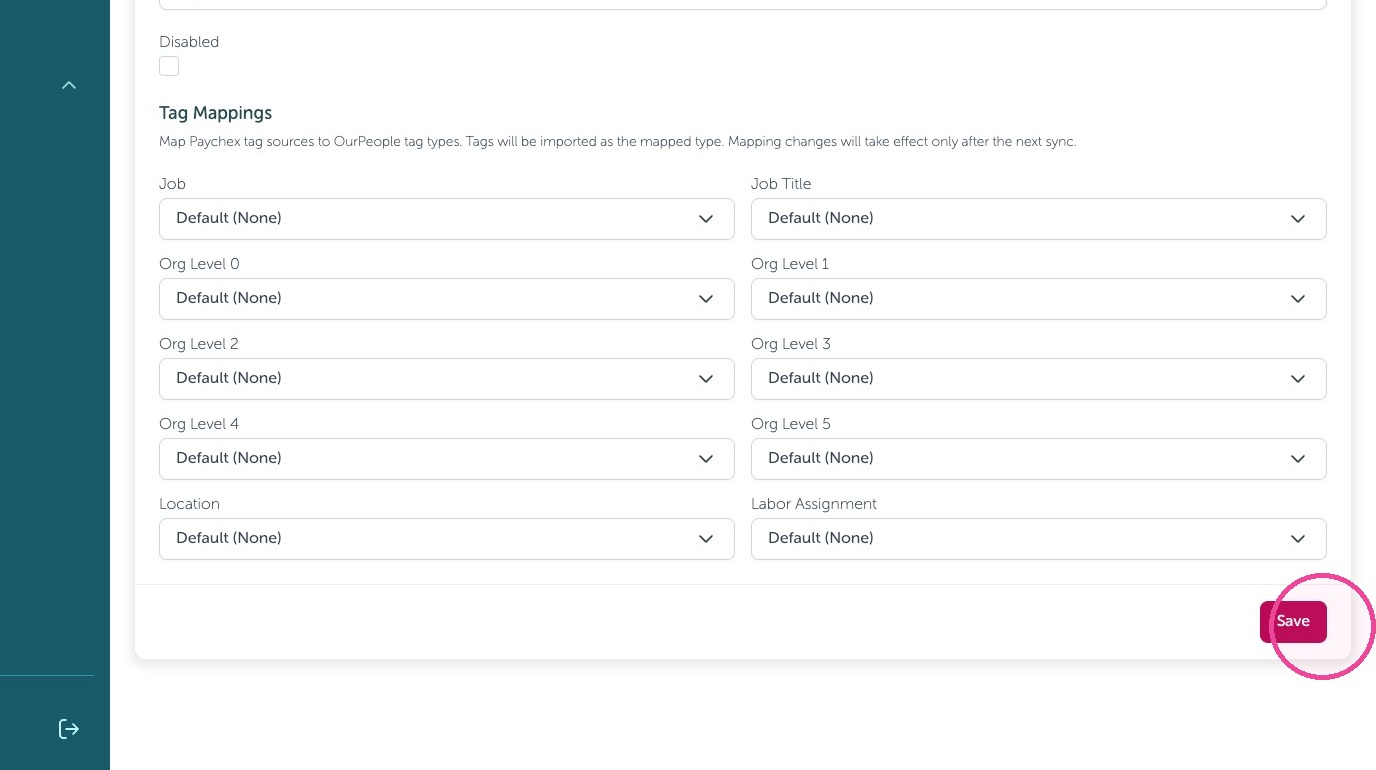
12. Click "Tag Mappings" drop downs and set to the Team, Job Title, etc.
13. Click "Save"
Create Decision Rules
Tip: By default all employees and mapped fields sync, however you can add rules to only allow specific people with specific tags, or specific tags by following this section. If you don't need to limit people, you are done with your Paychex Connection!
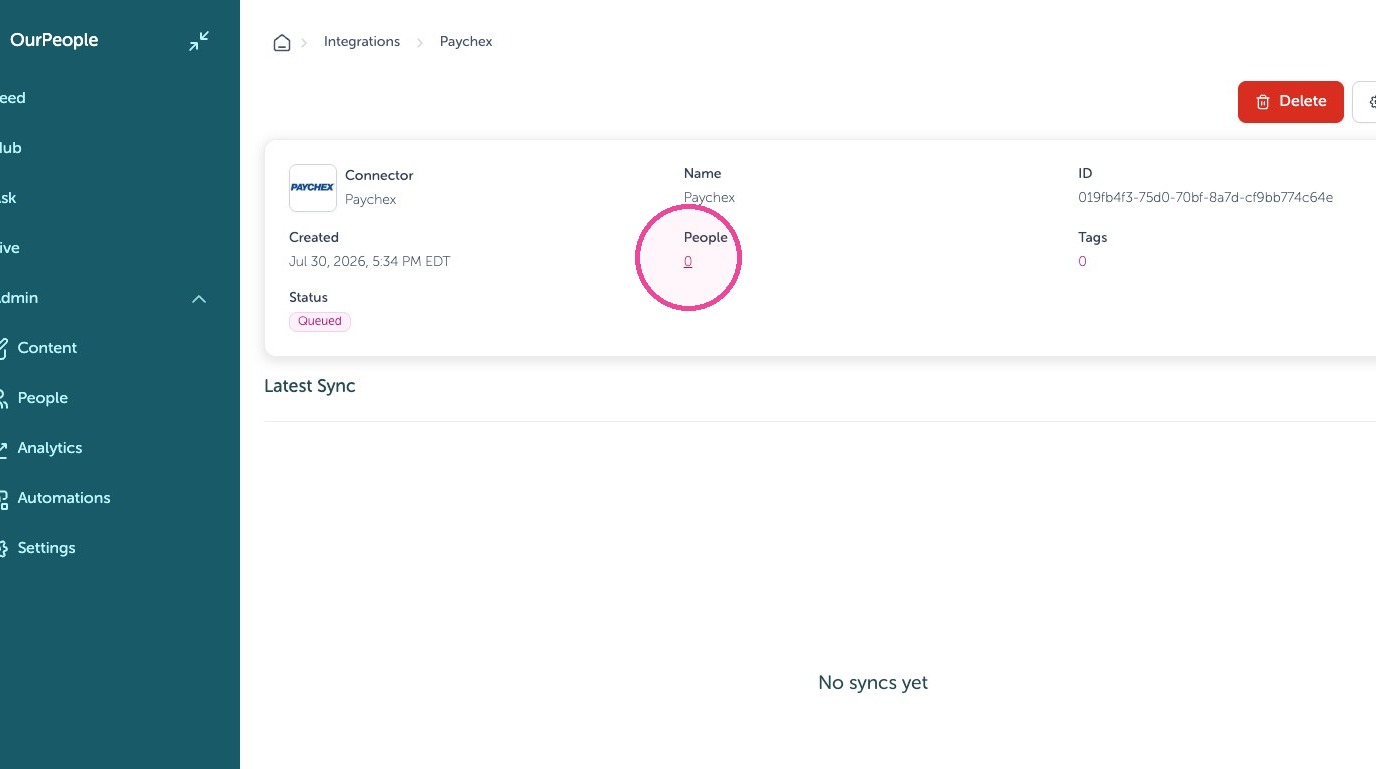
14. Click the number shown
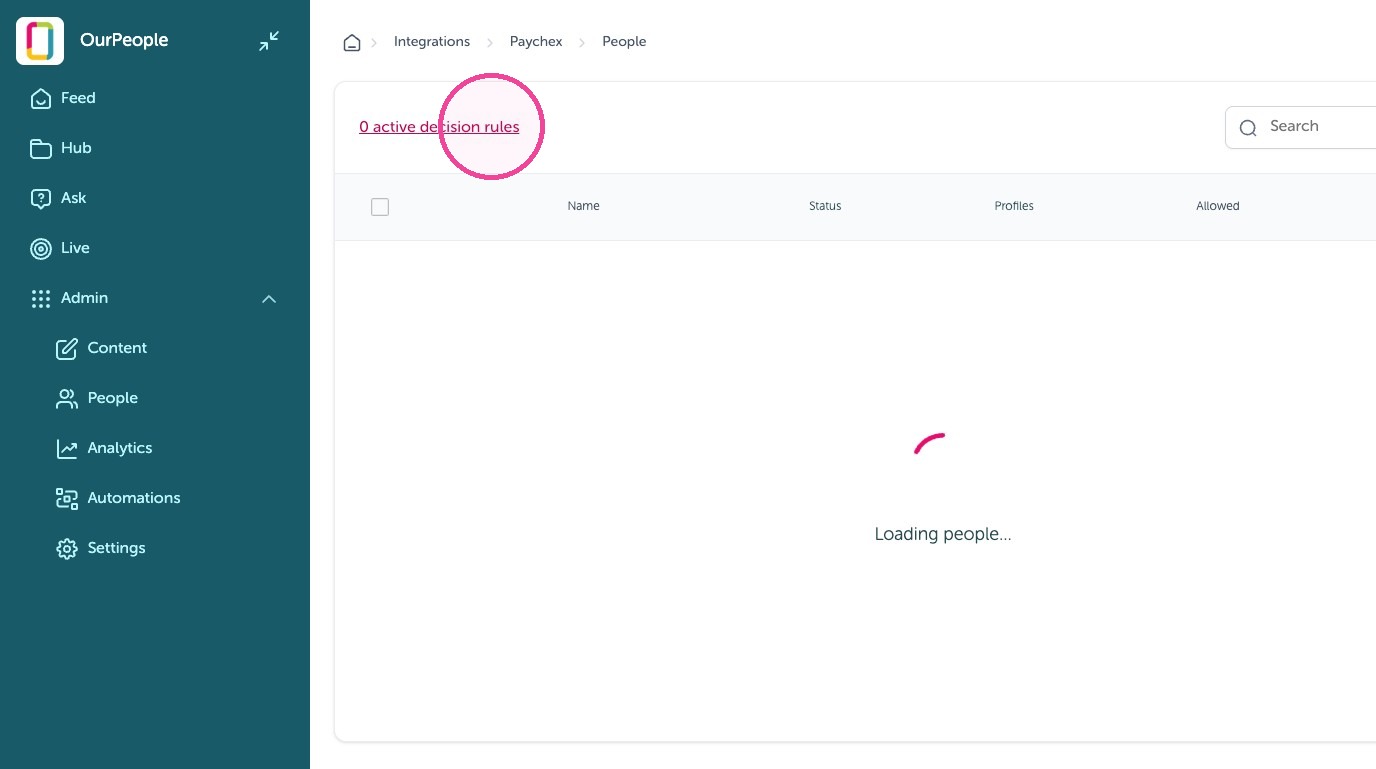
15. Click "1 active decision rules"
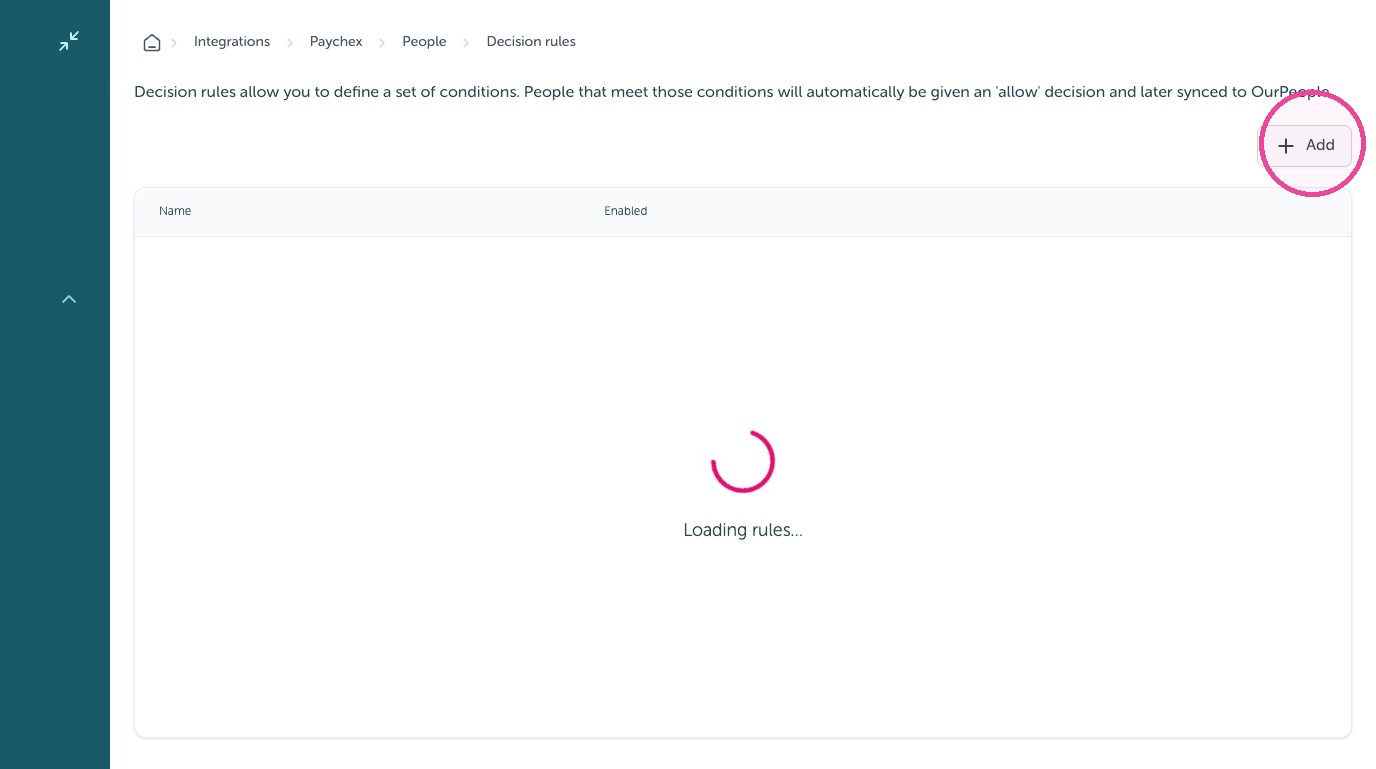
16. Click "Add"
17. Click "People with tags"
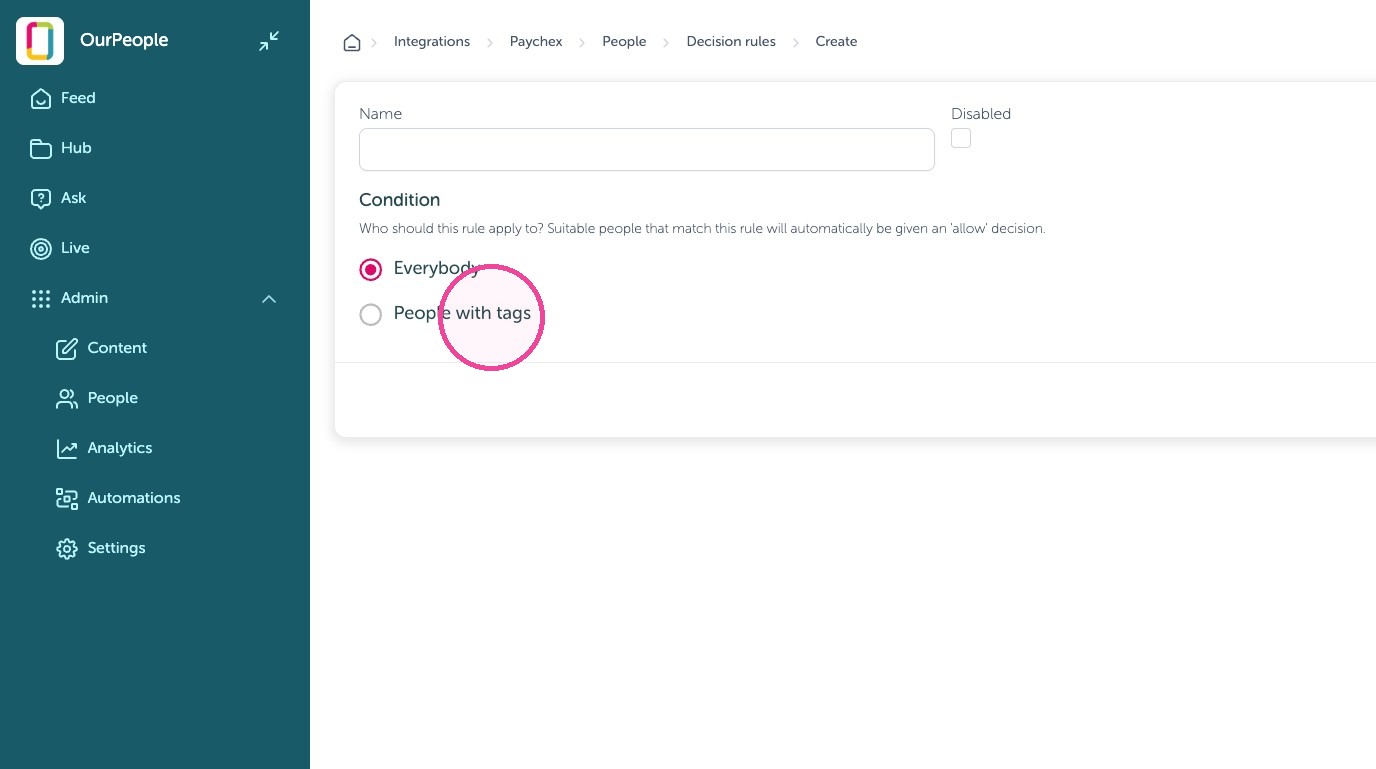
18. Click here to filter to people with specific tags to auto-add and sync
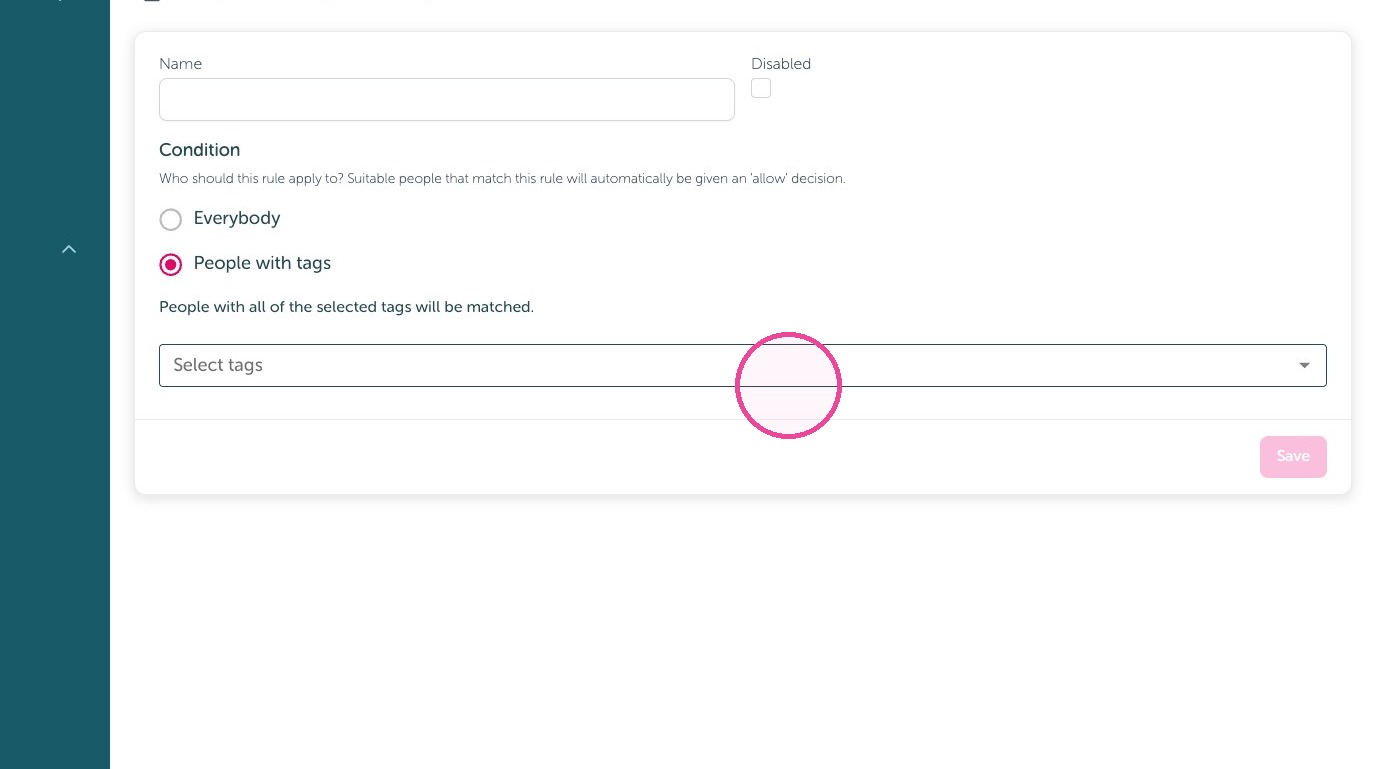
19. Click "Save"
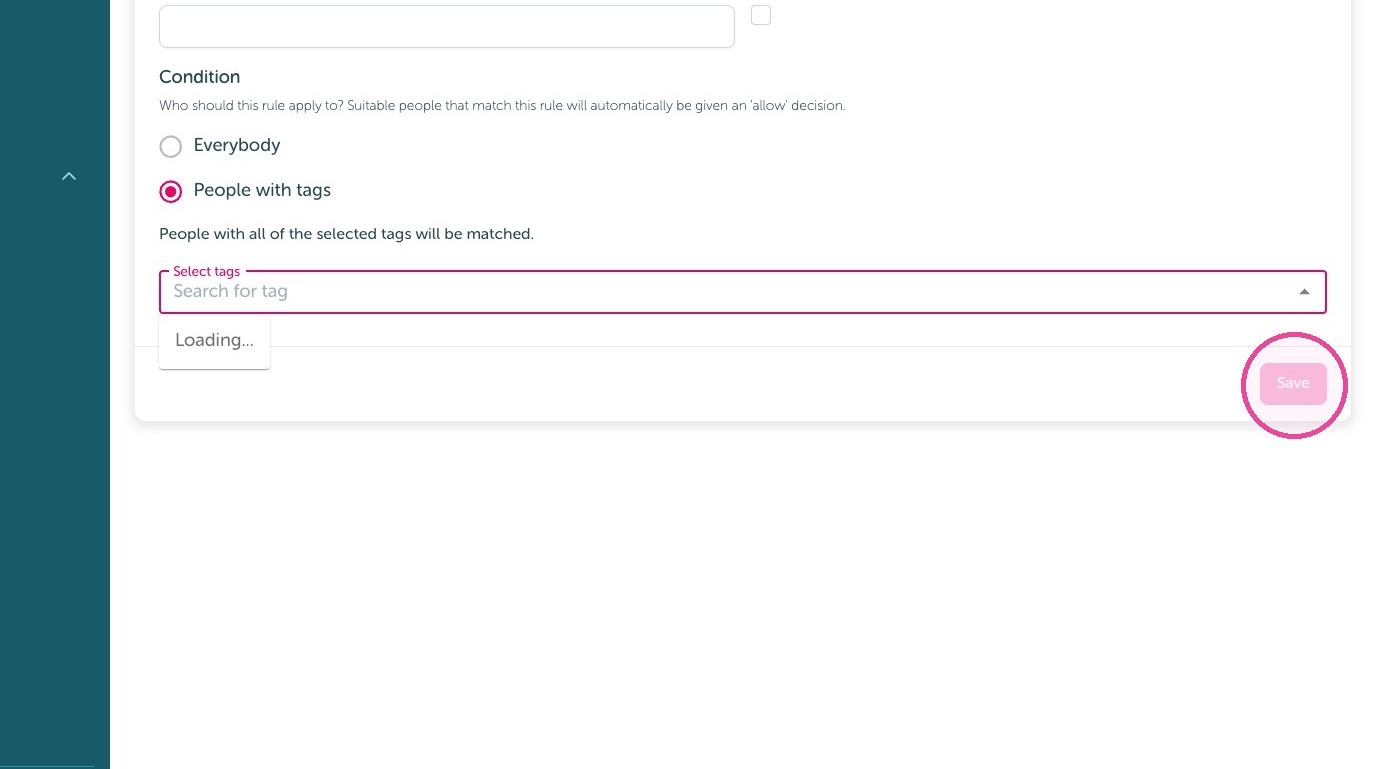
Tip: Repeat for tags if needed otherwise you are done!