
Learn how to create, publish, and save an automated birthday message in your
admin portal so employees receive personalized greetings on their birthdays.
This short guide walks through accessing Automations, choosing the birthday template,
publishing the message, and saving the automation to run automatically, saving
time and keeping team celebrations consistent.
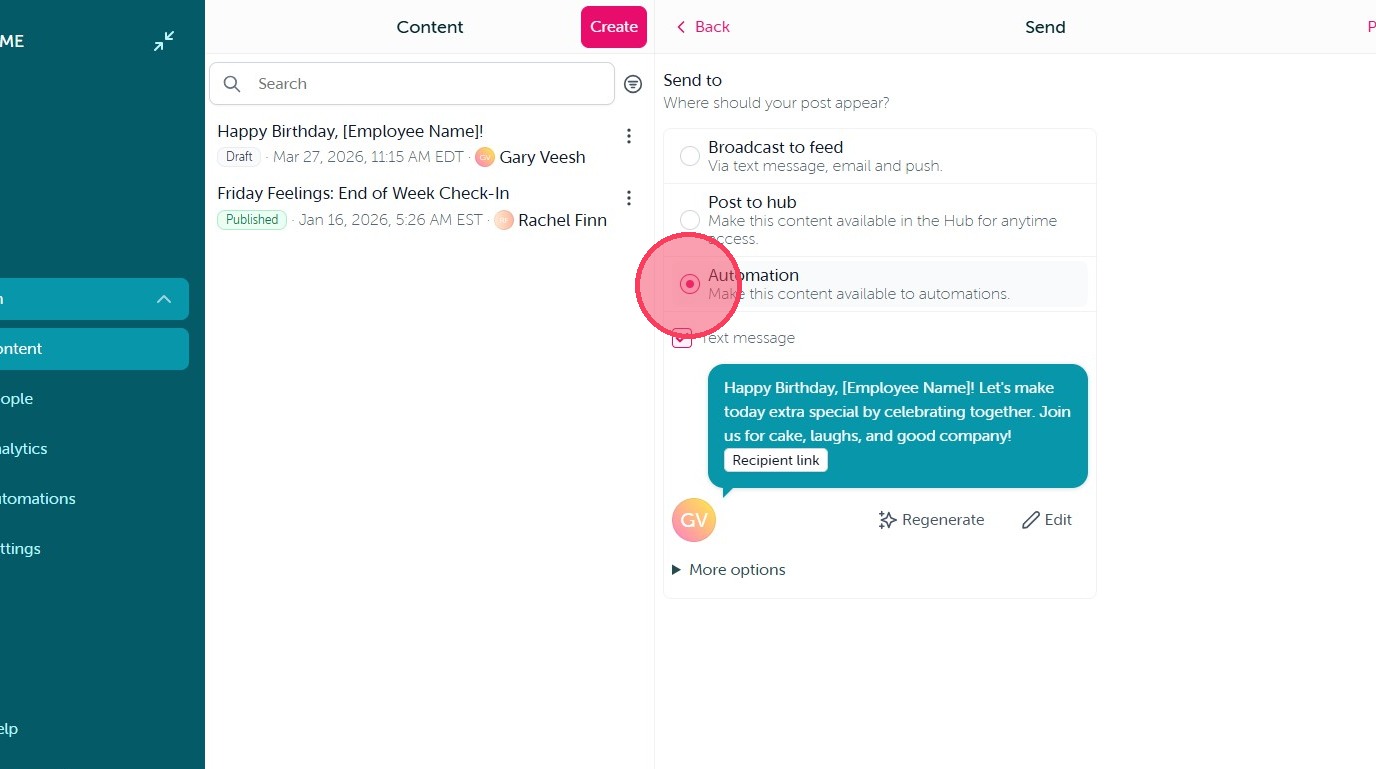
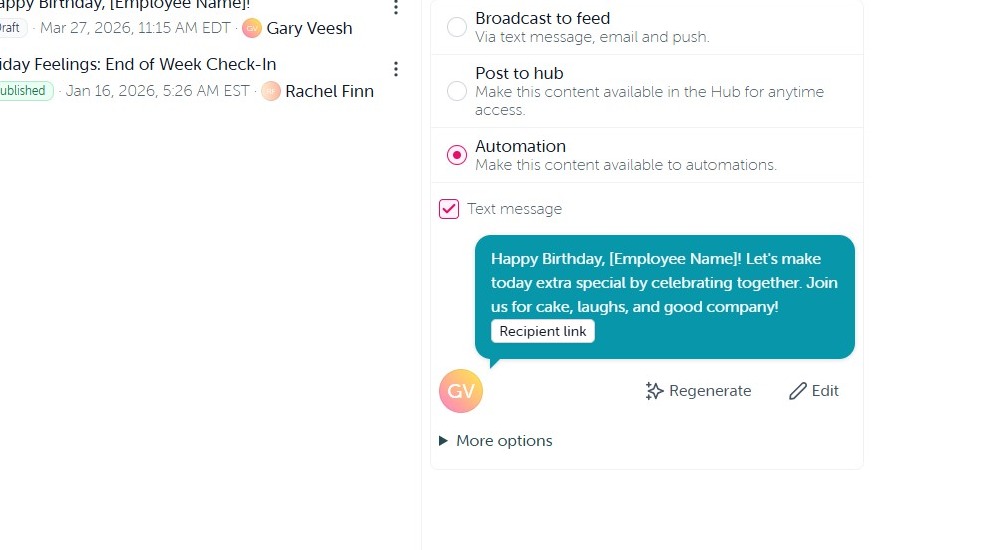
1. Each automation begins by publishing your content to Automations. On the final step of content creation—after you’ve made any necessary adjustments to the text message notification—select Automation to proceed.
2. When you are finished making any changes to your text message notification click "Publish" in the top right corner.
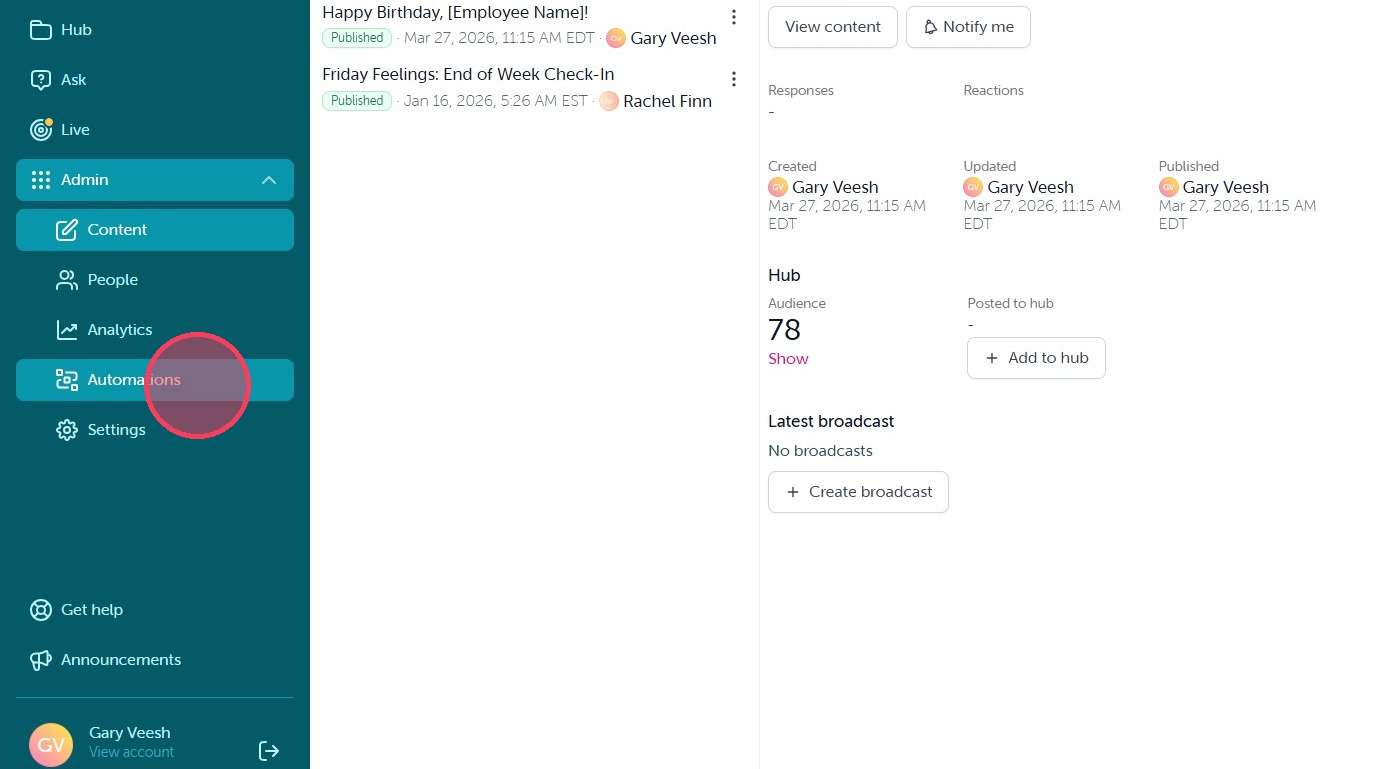
3. Once your Content has been published to Automations you can now set up your Automation. Navigate to the Automations tab in your Admin dashboard.
4. Click "Create"
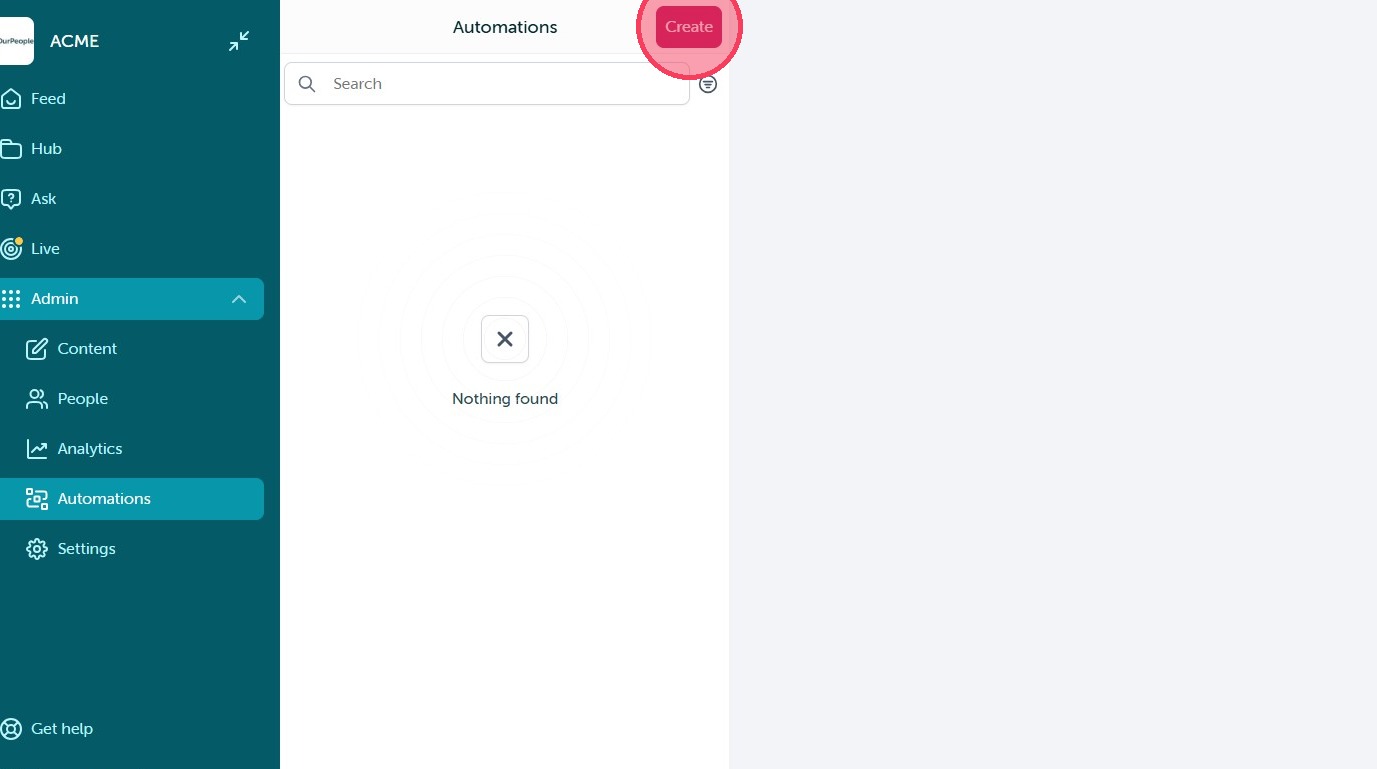
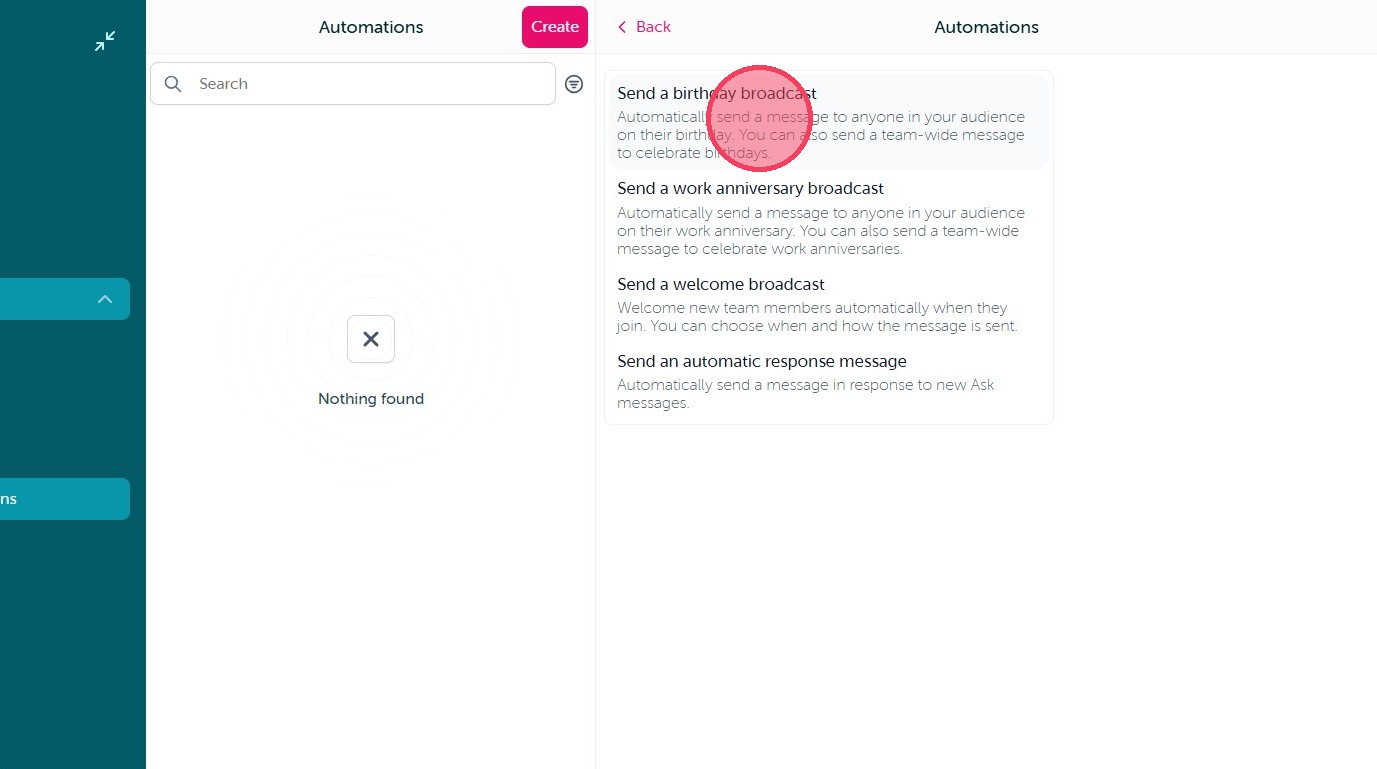
5. Select the Birthday Automation to get started.
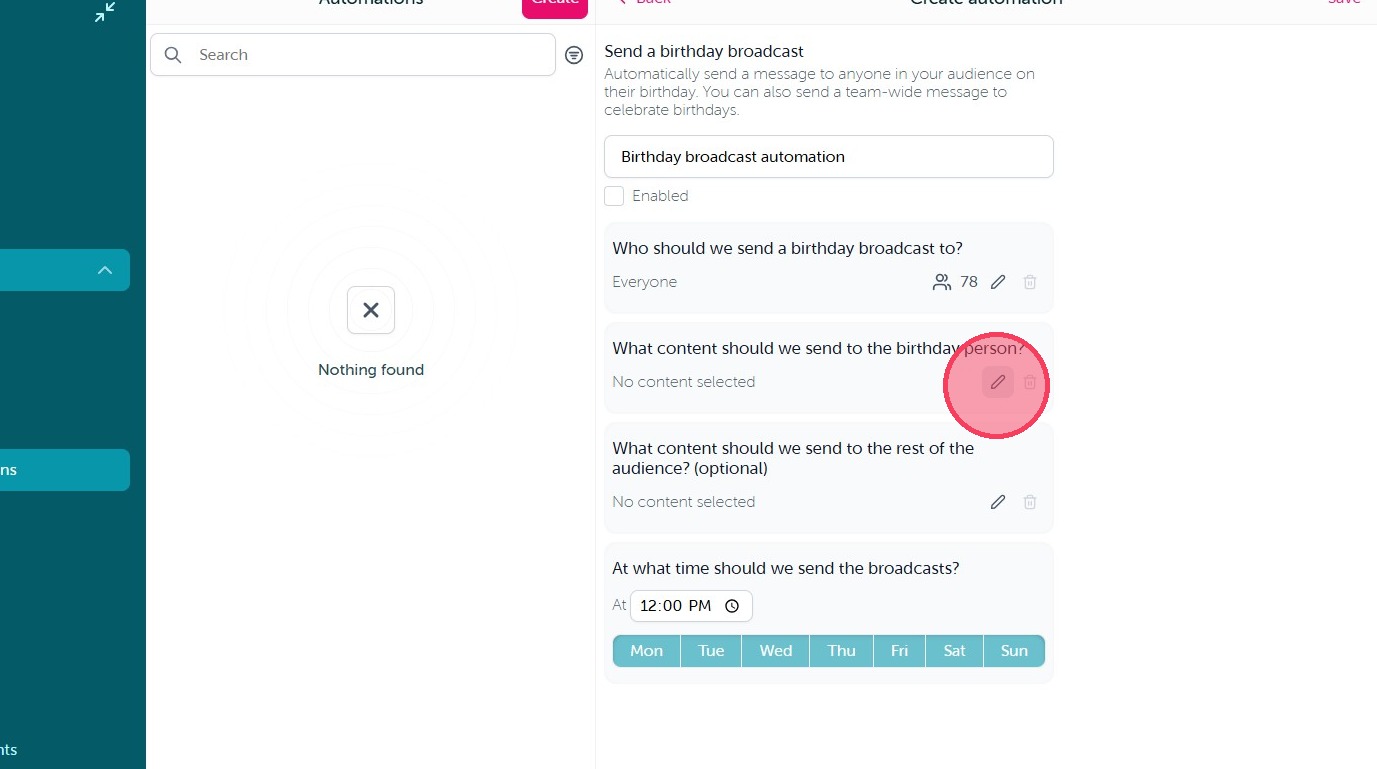
6. On this screen you can make the below adjustments by selecting the pencil icon in each window:
- Update the Automation title at the top of the page
- Edit the audience of who can receive the content based on birthdate data imported from your integration
- Select the content that will be sent through the Automation
- (Optional) Create alternate content to send to users when it is not their birthday
- Set the days and times the Automation will run
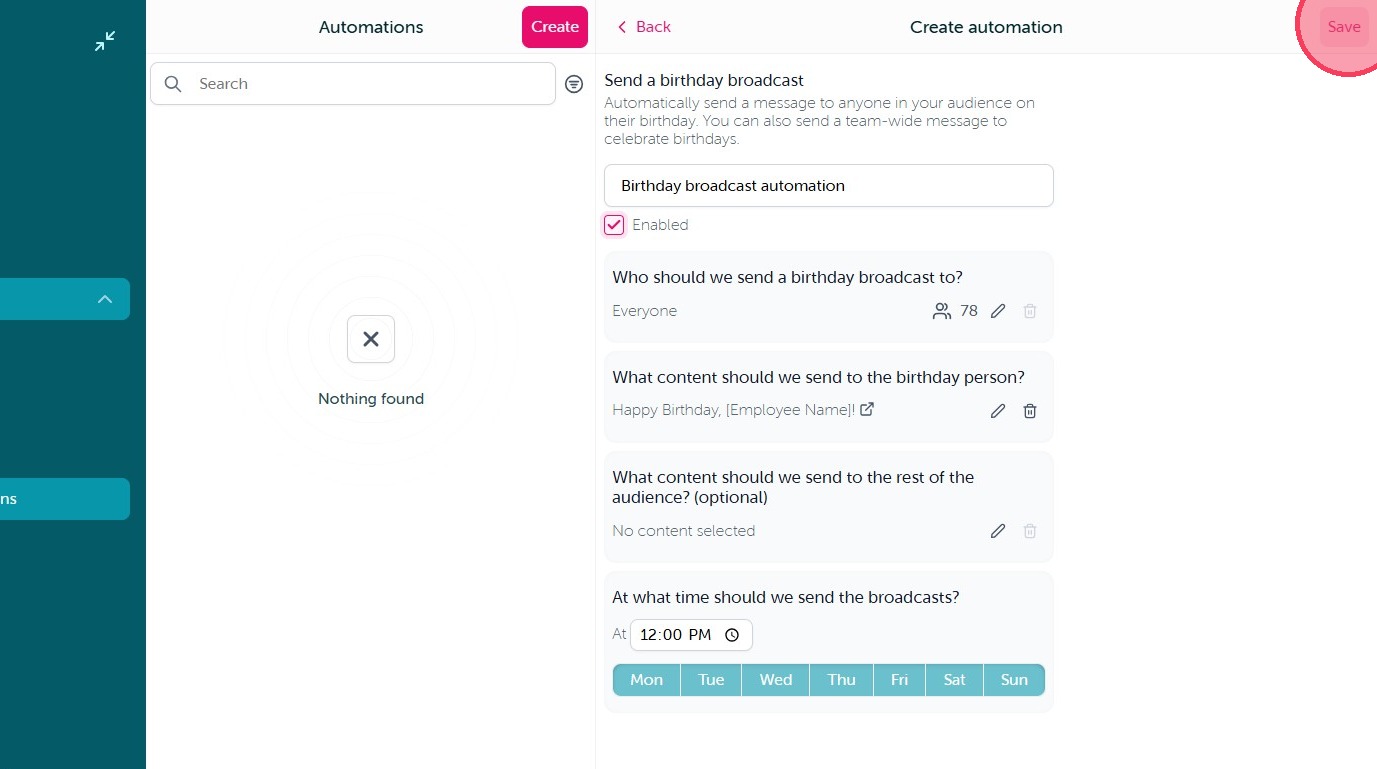
7. Once you are happy with your automation, select the Enabled checkbox underneath the title window.

8. Click "Save" to activate your Automation.
Comments
0 comments
Article is closed for comments.